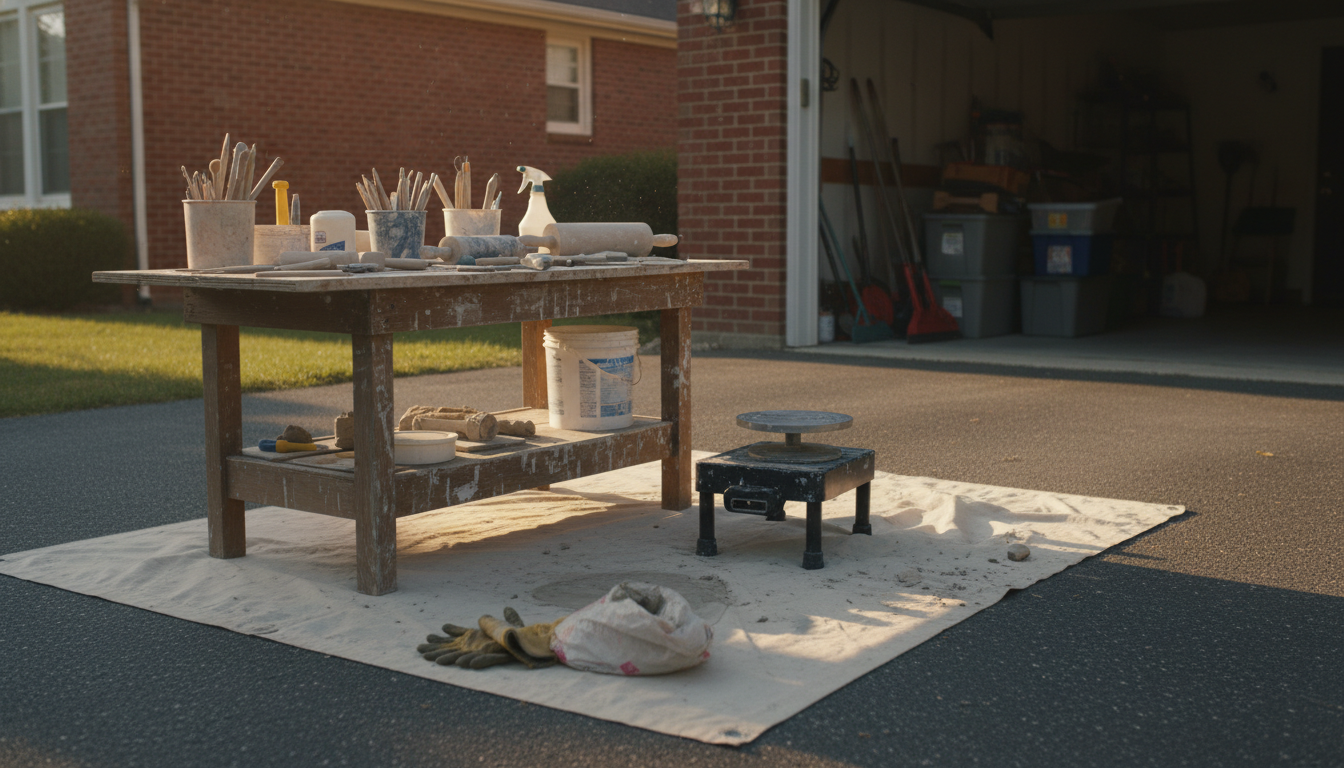
Starting clay sculpting at home doesn’t require a full studio—just a small set of reliable tools that help you shape, smooth, cut, and add detail. The right basics also keep your workspace clean and make it easier to fix mistakes as you learn.
Pick a clay type that matches your setup: air-dry clay for no-oven convenience, polymer clay if you can bake pieces in a home oven, or water-based ceramic clay if you’re prepared to manage drying and cleanup. Use a smooth, non-porous surface like a ceramic tile, glass/acrylic sheet, or a silicone mat so clay won’t stick and you can lift pieces cleanly.
A small assortment goes a long way: a ball stylus for eye sockets and rounded impressions, a needle tool for fine lines and punctures, and a few loop/ribbon tools for carving and removing clay. Add at least one silicone shaper (rubber-tipped tool) to blend seams and soften edges without leaving hard marks.
A craft knife or precision blade helps trim edges and cut clean shapes. A tissue blade (thin, flexible blade) is especially useful for polymer and air-dry clay when you want smooth slices without dragging.
Keep a small cup of water (for water-based and many air-dry clays) plus a soft brush for smoothing and cleaning texture from crevices. For polymer clay, isopropyl alcohol and a brush can reduce fingerprints. Fine sandpaper or sanding sponges help refine cured pieces, especially on air-dry and polymer clay.
Aluminum foil for bulking forms, toothpicks/skewers for temporary support, and simple armature wire for larger sculpts make projects sturdier while saving clay. A basic ruler and a few reference photos also improve symmetry and proportions.
For a more complete checklist and tool suggestions, visit the full guide here: https://splendyn.com/what-basic-tools-do-i-need-to-start-clay-sculpting-at-home/.
Air-dry clay hardens on its own and is easy to start with, but it can crack if it dries too fast. Polymer clay stays workable until baked, making it great for detailed work and slower projects.

Leave a comment