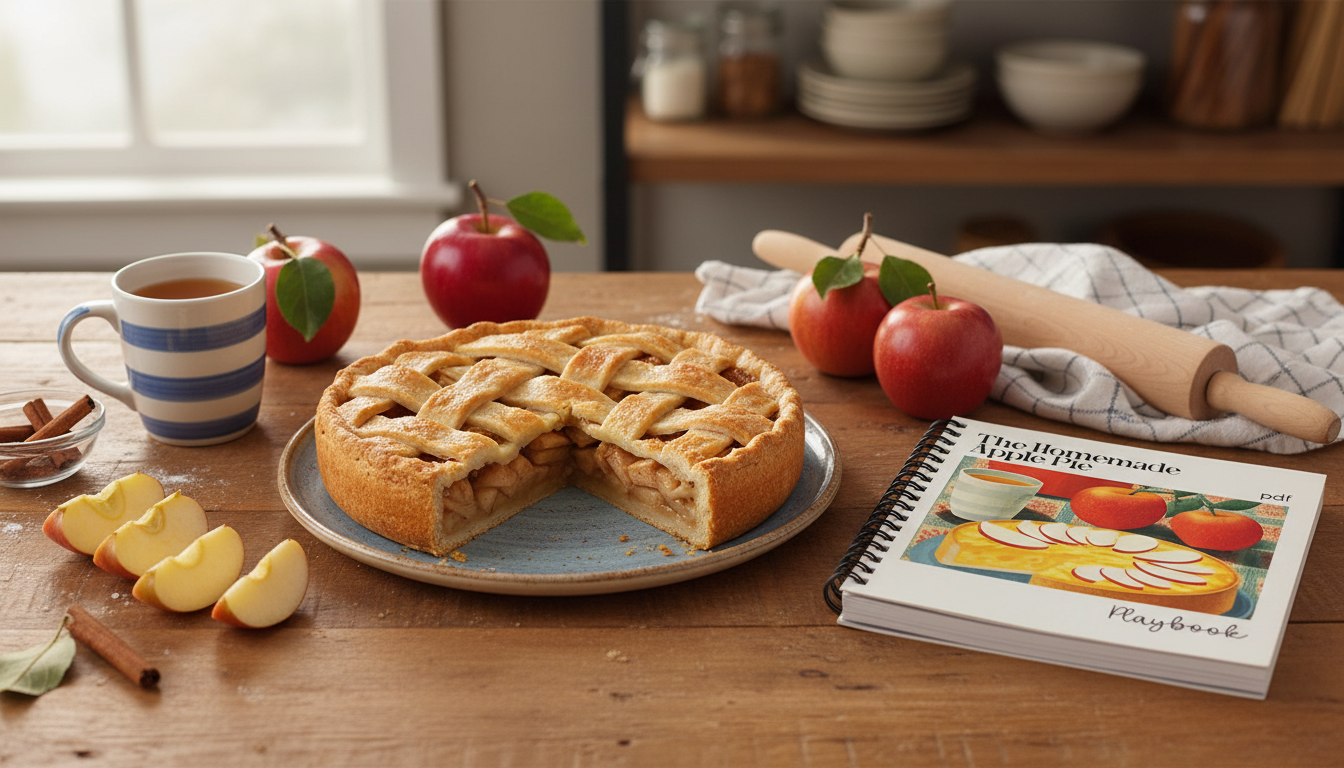
The Homemade Apple Pie Playbook: A Step-by-Step Printable Guide for Confident, Classic Apple Pie
A reliable apple pie comes down to repeatable steps: choosing the right apples, balancing sweetness and spice, building a flaky crust, and baking until the filling sets. This guide breaks the process into simple checkpoints beginners and busy home cooks can follow, with printable-friendly tips for planning, prepping, and troubleshooting.
What Makes a Great Apple Pie (So It Works Every Time)
- Flaky crust: Cold fat, minimal mixing, and enough resting time to relax gluten.
- Balanced filling: A mix of tart and sweet apples plus a thickener to prevent soupiness.
- Even bake: A hot start to set the crust, then steady heat to cook apples through.
- Cooling time: The filling finishes setting as it cools, improving slices and texture.
Tools and Ingredients to Gather Before Starting
- Essentials: Rolling pin, 9-inch pie dish, baking sheet, parchment, pastry brush, sharp knife.
- Helpful extras: Digital scale, instant-read thermometer, pie shield/foil ring, bench scraper.
- Core ingredients: Apples, flour or starch thickener, sugar, salt, butter, cinnamon (optional: nutmeg, lemon juice, vanilla).
- Crust basics: Flour, cold butter (or butter + shortening), ice water, a pinch of salt.
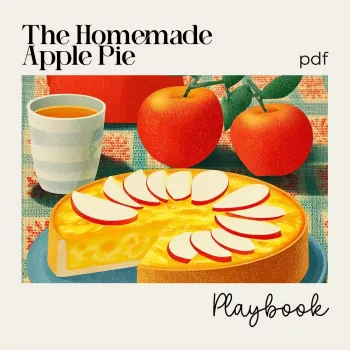
If you like having the whole flow in one place (with checkpoints you can literally mark off), Get The Homemade Apple Pie Playbook printable download for a kitchen-ready reference you can print or keep on a tablet.
Apple Choices and Flavor Profiles (Mixing Matters)
- Use a blend: One firm-tart variety plus one sweet-firm variety improves depth and texture.
- Aim for apples that hold shape: Avoid varieties that turn to sauce unless that’s the goal.
- Adjust sweetness by taste: Apples vary by season and storage—taste a slice before measuring sugar.
- Add brightness: Lemon juice lifts flavor and helps prevent browning during prep.
Quick Apple Pie Pairing Guide
| Apple type |
Texture after baking |
Flavor |
Best use |
| Firm-tart (e.g., Granny Smith) |
Holds slices well |
Bright, tangy |
Base apple; balances sweet fillings |
| Firm-sweet (e.g., Honeycrisp) |
Holds shape, juicy |
Sweet, aromatic |
Blend partner for a fuller apple flavor |
| Aromatic-firm (e.g., Pink Lady) |
Slices stay defined |
Sweet-tart, fragrant |
Great in mixes; adds complexity |
| Softer-sweet (varies by region) |
Breaks down faster |
Mellow sweet |
Use sparingly; helps create a jammy layer |
Crust Fundamentals: Flaky Dough Without Stress
- Keep everything cold: Chill butter and water; pause and refrigerate if the dough warms up.
- Leave pea-sized butter pieces: Those pockets create the layered flake.
- Add ice water gradually: Stop as soon as the dough holds together when pressed; too much water toughens crust.
- Rest twice: After mixing (hydration) and after rolling (less shrinkage).
- Roll evenly: Rotate dough, dust lightly, and avoid overworking the surface.
For deeper technique notes (especially on mixing and keeping dough tender), King Arthur Baking’s pie guide is a solid reference: https://www.kingarthurbaking.com/learn/guides/pie.
Step-by-Step Filling: Preventing Runny Pie and Soggy Bottoms
- Slice evenly: About 1/4 inch keeps cooking consistent so some apples don’t turn mushy while others stay firm.
- Pick a thickener: Flour for a classic, softer set; cornstarch/tapioca for a clearer, tighter slice.
- Control moisture: Toss apples with sugar and let stand 15–30 minutes; drain excess juice or cook it down, then add back as a syrup.
- Season gradually: Start with cinnamon and salt; add nutmeg/clove lightly to avoid a bitter edge.
- Optional pre-cook: A short stovetop warm-up reduces shrinkage and helps you see how juicy your apples really are.
Assembly Checklist: From Bottom Crust to Lattice (Beginner-Friendly)
- Skip heavy docking: Instead, rely on a thickened filling and a well-chilled crust to reduce sogginess.
- Prevent soggy bottoms: Chill the lined pie dish, use a preheated sheet pan/stone if available, and bake on the lower rack.
- Mound the apples: Higher in the center—apples settle as they bake.
- Seal well: Brush edges with water or egg wash, crimp firmly, and cut vents if using a solid top crust.
- Finish strong: Egg wash for shine, coarse sugar for crunch, and a pie shield if browning too quickly.
Baking Game Plan: Temperatures, Visual Cues, and Doneness
Storage matters too—especially if you’re prepping apples or holding leftovers. The USDA FoodKeeper tool offers practical guidance: https://www.foodsafety.gov/keep-food-safe/foodkeeper-app.
Common Problems and Fast Fixes
Printable Digital Playbook: A Simple Way to Follow Every Step
For a tidy, print-and-go workflow, The Homemade Apple Pie Playbook – Ultimate Guide for Bakers (Printable Digital Download) keeps the whole process consistent when you’re baking for holidays or weekends.
Recipe Variations That Still Slice Cleanly
If you’re building a “checklist habit” at home beyond baking days, these in-stock downloads can help keep routines simple: Home Cardio Blast Checklist (Instant Digital Download) and Car Cleaning Hacks to Keep Your Ride Fresh (Digital Checklist).
FAQ
What are the best apples for apple pie?
Choose firm apples that hold their shape, and get the best flavor by blending a tart variety (like Granny Smith) with a sweet, firm variety (like Honeycrisp). Since apples vary in sweetness, taste a slice first and adjust your sugar accordingly.
How do you keep apple pie from being runny?
Use a dependable thickener, manage excess juices by draining or cooking them down, and don’t remove the pie until the filling is bubbling in the center for several minutes. Let the pie cool completely so the filling can set before slicing.
Should you pre-cook apples for apple pie?
Pre-cooking is optional, but it helps reduce shrinkage and lets you control moisture with very juicy apples. Skip it when you need a faster prep, but consider it when your apples release a lot of liquid or you want a more consistent slice.
Recommended for you

Leave a comment