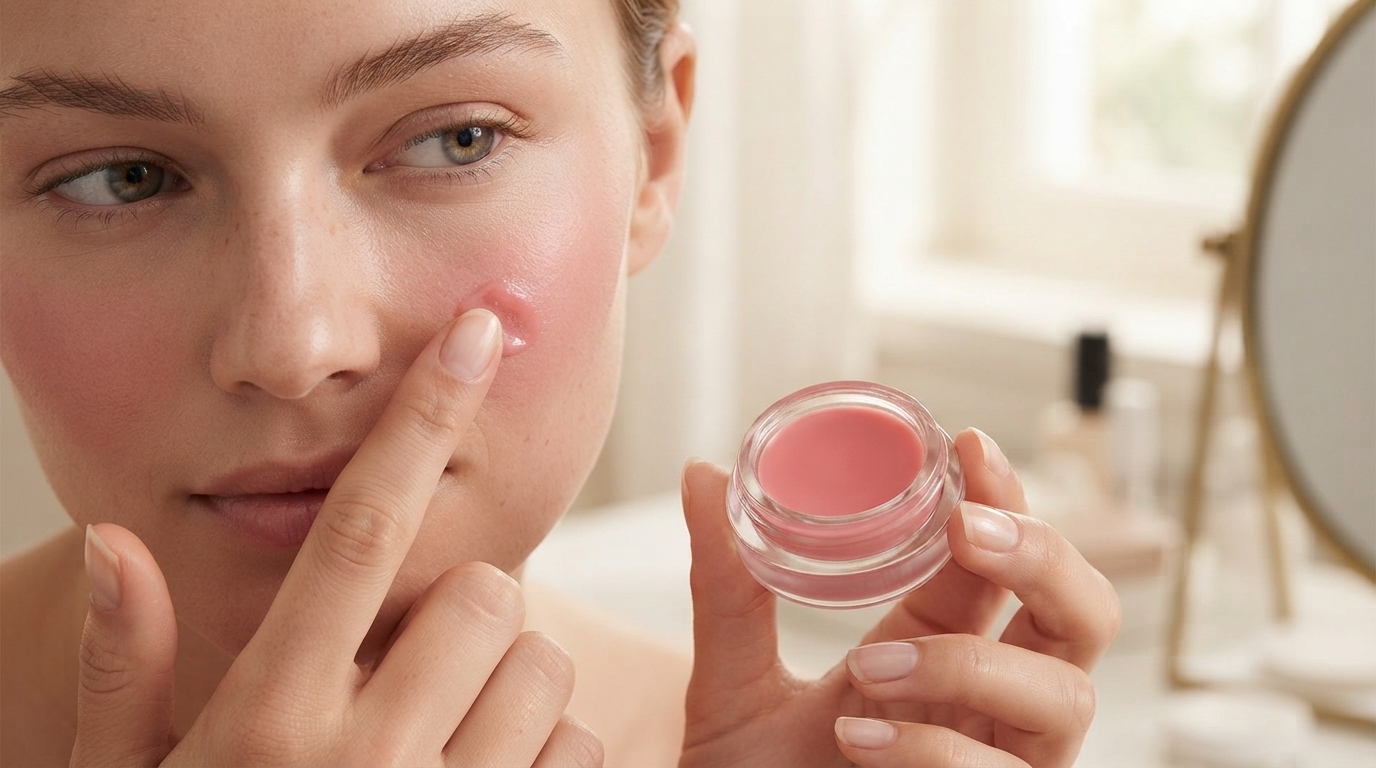
Jelly blush can be a dream on fair skin: sheer, bouncy, and genuinely “skin-like.” It can also show mistakes fast—too much pigment, patchy edges, or that sudden “cold spot” where the formula grips and refuses to move. The good news is that jelly textures behave predictably once you treat them like a fast-setting stain instead of a slow cream blush. Use the checklist below to nail placement, timing, and undertone so your flush stays soft, balanced, and believable.
Jelly blush formulas tend to set quicker than classic creams, which means your blending window matters more than pressure. On fair skin, a single heavy layer can read neon, create hard borders, or emphasize texture. Layering is your safety net: thin passes let you stop exactly where the color looks like it’s coming from within.
Base products also change how jelly behaves. A dewy base can add slip, but overly tacky skincare (or sunscreen that hasn’t dried down) can cause the blush to grab, skip, or go patchy. Finally, undertone balance is everything: warm shades can look orange; cool shades can read “bruise-y,” especially if placed too low on the face.
Fair-skin application is easiest when your base is even and set where it needs to be—without turning cheeks into a powder trap. Keep your prep simple and give layers time to settle.
If you’re experimenting with new face products, it’s also helpful to understand how cosmetics are regulated and labeled; the FDA: Cosmetics Overview is a solid reference point.
The best tool is the one that keeps you tapping (not swiping) and lets you sheer the edges quickly. Jelly blush rewards gentle, repeated presses that blur pigment without moving your base.
| Goal | Best tool | Technique cue |
|---|---|---|
| Ultra-sheer watercolor flush | Damp sponge | Pick up tiny amount, tap outward in micro-movements |
| More lift at the cheekbone | Stippling brush | Stipple upward, then lightly tap to blur |
| Blush looks patchy on top of base | Fingers + sponge | Warm with fingers, then perfect with sponge taps |
| Too much pigment too fast | Clean damp sponge | Bounce over edges first, then center to dilute |
| Edges look harsh after drying | Clean fluffy brush | Feather-circles on the perimeter only |
This is the “no surprises” order of operations. The goal is to blur the edges first, then build the center so the color fades naturally into your complexion.
If you want a quick-reference version you can keep on your phone, Fresh Flush Mastery with Jelly Blush – Ultimate Jelly Blush Application Checklist for Fair Skin is designed as a simple, repeatable routine for consistent results across different base products and lighting.
Before choosing, compare the product details with your daily routine, available space, care needs, and preferred setup. The strongest option is usually the one that fits the intended use clearly and remains simple to clean, store, and check before repeat use.
Use tiny amounts, start placement high on the cheekbone, blend outward first, and build in thin layers while checking in natural light so the intensity doesn’t jump suddenly.
Usually apply it after your base and before heavy powder. If you need oil control, lightly powder strategic areas first and keep cheeks minimally powdered so the jelly can melt in smoothly.
Stop swiping and switch to tapping with a damp sponge, re-blurring the edges first. If needed, tap a tiny bit of base product over the patch to smooth it without removing all the color.






Leave a comment