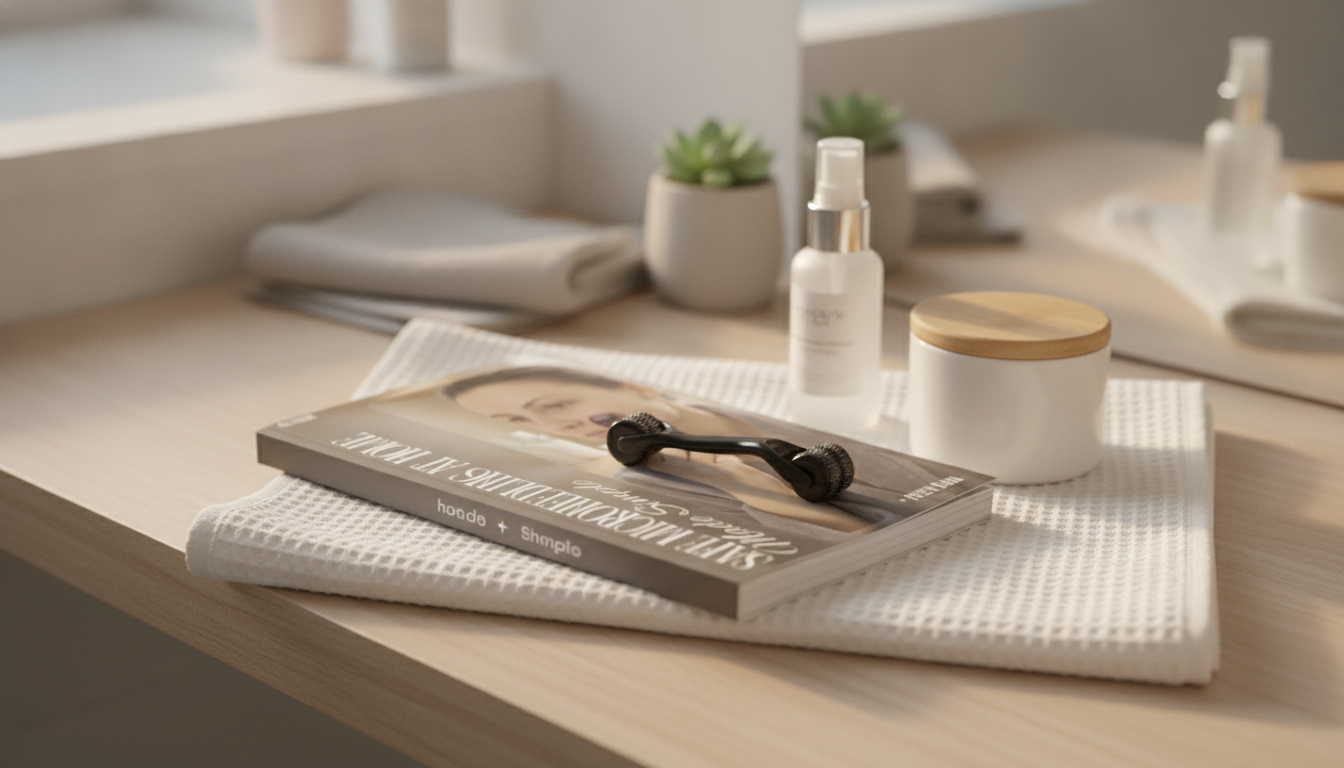
Microneedling can support smoother-looking texture and a more even appearance when done carefully, but the real results come from consistency and safety. A calm, controlled routine—built around clean tools, conservative needle depth, and simple aftercare—helps reduce avoidable irritation and setbacks. Below is a beginner-friendly plan for choosing needle length, prepping skin and tools, using a gentle technique, and following a low-drama recovery routine. For more guidance, see Microneedling Devices: Getting to the Point on Benefits, Risks … – FDA.
At-home microneedling is best approached like a small, controlled skin procedure—not a quick beauty shortcut. For beginners, “more” (more pressure, more passes, deeper needles) doesn’t automatically translate to better outcomes; it often translates to prolonged redness, barrier disruption, and higher infection risk. For further reading, see How to Microneedle at Home: A Step-by-Step Guide | MDPen Skincare.
Even a careful routine isn’t a fit for everyone. If any of the situations below apply, it’s safer to pause and get clinician guidance—especially if you’re considering deeper needle lengths or combining microneedling with strong actives.
For additional safety information, see guidance from the American Academy of Dermatology Association and the U.S. Food & Drug Administration.
Clean technique matters as much as needle length. Microneedling creates micro-channels, which is why sanitation and device quality are non-negotiable.
| Needle length | Best for | How often | Beginner notes |
|---|---|---|---|
| 0.1–0.25 mm | Product absorption + mild glow | Up to 1–3x/week (if skin tolerates) | Gentle option; still keep tools clean and avoid irritation |
| 0.3–0.5 mm | Texture, early fine lines, mild discoloration appearance | Every 2–4 weeks | Common at-home range; stop if pinpoint bleeding is frequent |
| 0.75–1.0 mm+ | Deeper concerns | Professional schedule only | Higher risk at home; consider clinician guidance |
Your goal is a calm baseline before you start—less reactivity during the session, and a smoother recovery afterward.
A beginner-friendly technique is light, consistent, and methodical. The skin should look mildly flushed afterward—not battered.
| Step | Do | Avoid |
|---|---|---|
| Prep | Gentle cleanse, dry skin, sanitize device, clean workspace | Actives, fragrance, cluttered setup |
| Technique | Light pressure, small sections, 1–2 passes per direction | Aggressive stamping, repeated overlap, rushing |
| Aftercare (0–72h) | Simple hydrator, barrier support, SPF | Retinoids, strong acids, scrubs, heavy fragrance |
| Recovery | Limit heat/sweat, keep pillowcase clean | Sun exposure, pools/hot tubs, picking at flaking skin |
Frequency depends on needle length and how quickly your skin fully calms down. Very short needles may be tolerated more often, while 0.3–0.5 mm is typically spaced weeks apart; lingering redness, tenderness, or sensitivity means you should wait longer.
Avoid retinoids, strong acids, scrubs, fragrance/essential oils, and alcohol-heavy products for 24–72 hours. Stick to bland hydration and barrier-supporting ingredients, plus daily sunscreen.
Occasional pinpoint bleeding can happen at higher at-home depths, but frequent bleeding is a sign of too much depth, pressure, or too many passes. Scale back and consider professional guidance if you’re aiming for deeper treatments.




Leave a comment