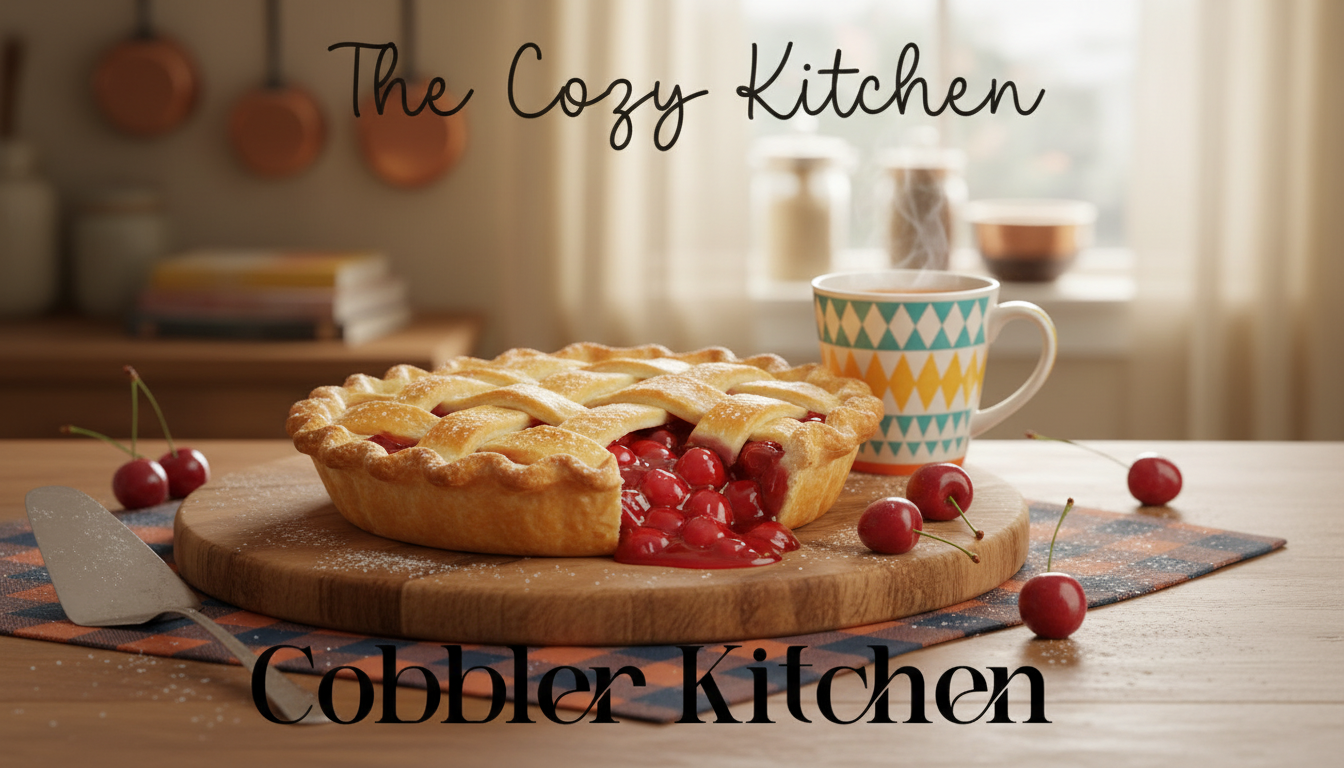
The Cozy Cobbler Kitchen: A Beginner-Friendly Path to Comfort-Style Cobbler
Cobbler is one of the most forgiving, cozy desserts to learn—warm fruit, a simple topping, and a bake that feels impressive without requiring pastry skills. With a few repeatable choices (fruit, thickener, topping style, and pan), home bakers can turn fresh or frozen fruit into a golden, bubbling cobbler that tastes like it took all day.
What Makes a Cobbler So Beginner-Friendly
Cobbler is built for “close enough” baking. It welcomes imperfect cuts, flexible ratios, and whatever fruit you have on hand.
- No rolling pin required: Most cobblers rely on batter, biscuit drops, or crumble toppings rather than laminated dough.
- Flexible fruit options: Fresh, frozen, or canned fruit can all work with small adjustments to sugar and thickener.
- Easy to scale: Bake in an 8×8 pan, 9×13 dish, cast-iron skillet, or even individual ramekins.
- High reward for low effort: Bubbling fruit plus a crisp, golden top delivers pure comfort with minimal technique.
Cobbler Styles and When to Use Each
There isn’t one “correct” cobbler. Picking a topping style is mostly about the texture you want and how juicy your fruit is.
- Biscuit-topped: A tender, dumpling-like top that’s perfect with berries, peaches, and apples.
- Cake/batter-topped: Lighter and spoonable; bakes evenly and pairs well with extra-juicy fruits like blueberries and cherries.
- Crumble-topped cobbler: Streusel-like crunch; especially good for apples, pears, and plums.
- Skillet cobbler: Deeper caramelization around the edges and a warm, rustic presentation at the table.
Quick guide to choosing a cobbler topping
| Topping style |
Texture |
Best with |
Beginner notes |
| Biscuit |
Tender, lightly crisp |
Peach, mixed berry |
Keep butter cold; avoid overmixing |
| Cake/Batter |
Soft, cakey, spoonable |
Blueberry, cherry, stone fruit |
Simplest mixing method; watch doneness at center |
| Crumble/Streusel |
Crunchy, buttery |
Apple, pear, plum |
Easy to prep ahead; can brown quickly |
| Dumpling/Drop |
Pillowy topping |
Blackberry, peach |
Spoon evenly so fruit can bubble through |
Tools, Pans, and Ingredients That Set You Up for Success
A cobbler doesn’t require specialty gear—just a few basics that help you get consistent results.
- Baking dish: Ceramic or glass offers steady heat; cast iron creates extra browning at the edges.
- Mixing basics: A bowl, whisk, spatula, and measuring cups/spoons are enough.
- Fruit thickener: Cornstarch or flour helps prevent a runny filling (especially with frozen fruit).
- Fat choice: Butter brings flavor; keep it cold for biscuit/streusel toppings so you get a lighter texture.
- Flavor boosters: Vanilla, cinnamon, citrus zest, and a pinch of salt make fruit taste brighter and less one-note sweet.
For deeper baking technique and fruit dessert basics, King Arthur Baking’s learning resources are a solid reference: https://www.kingarthurbaking.com/learn.
Step-by-Step: How to Bake a Cobbler (Simple, Repeatable Method)
Use this as a reliable rhythm. Once you’ve made one cobbler, you can swap fruit and topping styles without starting from scratch.
- Step 1 — Heat the oven: Preheat to 350–400°F depending on topping style (higher for biscuits/streusel, lower for cake-style).
- Step 2 — Prep the fruit: Slice if needed, then combine fruit with sugar, thickener, a pinch of salt, and optional spices/citrus.
- Step 3 — Build the filling: Spread fruit evenly in the dish; let it sit 5–10 minutes to pull out juices before baking.
- Step 4 — Make the topping: Mix dry ingredients first, then add butter (cut in for biscuits/streusel) or liquids (for batter-style).
- Step 5 — Top the fruit: Dollop biscuits or spread batter; leave small gaps so steam can escape and fruit can bubble up.
- Step 6 — Bake: Cook until fruit is actively bubbling (especially at the center) and the topping is golden and set.
- Step 7 — Rest before serving: Cool 10–20 minutes so the filling thickens and portions hold together.
- Step 8 — Serve warm: Add vanilla ice cream, whipped cream, or yogurt for a lighter finish.
Common Cobbler Problems (and Quick Fixes)
Make-Ahead, Storage, and Reheating Tips
For practical leftover guidelines, see the USDA’s food safety recommendations: https://www.fsis.usda.gov/food-safety/safe-food-handling-and-preparation/food-safety-basics/leftovers-and-food-safety.
A Cozy Shortcut: A Printable, Step-by-Step Cobbler Guide
If you like having a clear checklist on the counter—fruit choice, thickener cues, topping options, and doneness signals—grab The Cozy Cobbler Kitchen step-by-step digital download. It’s designed to reduce guesswork so you can repeat your favorite results with different fruits across the seasons.
More helpful digital downloads (in stock)
FAQ
What is the difference between a cobbler and a crisp?
A cobbler usually has a biscuit- or batter-style topping, while a crisp typically features an oat-based streusel that bakes up crunchy. Both are fruit-forward, but the topping texture is the main difference.
Can frozen fruit be used for cobbler?
Yes—frozen fruit works well. Bake from frozen for convenience or thaw and drain to control liquid, then adjust thickener and bake until the center is actively bubbling so the filling sets.
How can cobbler doneness be checked without guessing?
Look for vigorous bubbling in the center (not just the edges) and a golden, set topping. If the top browns early, cover loosely with foil and keep baking, then rest 10–20 minutes to thicken.
Recommended for you




Leave a comment