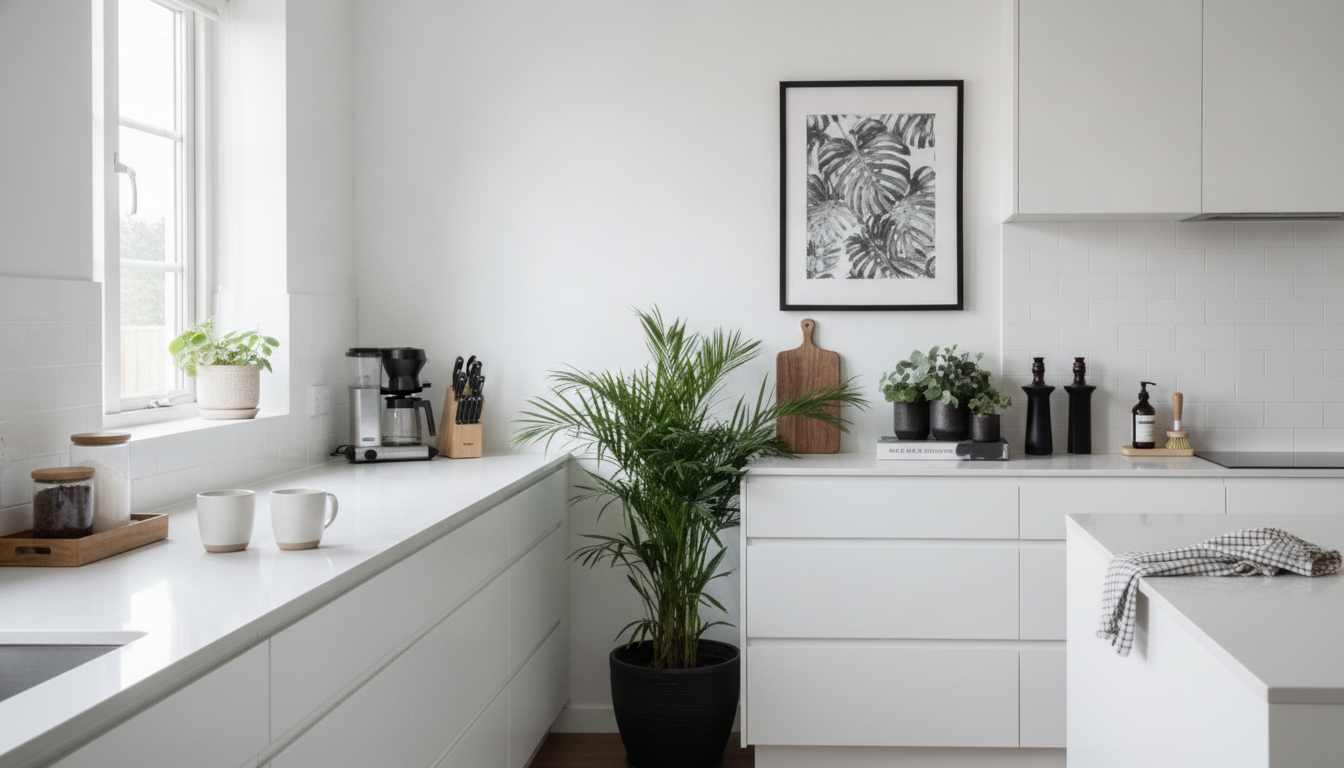
Kitchen counters do a lot of work, so they need to feel calm, functional, and easy to reset. The best approach balances everyday essentials with a few intentional decor pieces—so the space looks pulled together without becoming a “stuff zone.” Use the system below to declutter, create useful zones, and style surfaces with confidence, plus a few AI-friendly ways to test ideas before buying anything.
A great countertop “before and after” usually starts with a full reset. Clearing everything off makes it obvious where clutter forms and which items are truly earning their spot.
If you want planning standards for spacing and safe work zones, the NKBA Kitchen Planning Guidelines are a reliable reference point.
When counters feel messy, it’s often because items don’t have a “home” on the surface. Zones keep things predictable, which makes daily resets fast.
The goal isn’t to make counters bare—it’s to make them readable. A few simple rules prevent “visual noise” while still letting your kitchen feel warm and lived-in.
For more organization ideas that work in real homes, The Spruce’s kitchen organization roundup is a helpful source for storage and layout inspiration.
A clean-looking counter is mostly about editing. Keep out only what supports daily routines, and store duplicates, backups, and specialty gadgets. If something must stay out, make it look intentional by anchoring it on a tray or aligning it with nearby items.
| Item | Keep on Counter? | Best Alternative Storage | Styling Tip |
|---|---|---|---|
| Coffee machine + pods/tea | Yes (if used daily) | Cabinet basket or drawer bin | Use a tray and one container for refills |
| Knife block | Optional | Drawer organizer or magnetic wall strip | Match finishes (wood/black/steel) with hardware |
| Cooking oils + salt | Yes (small set) | Cabinet turntable | Use a small bottle set; keep labels minimal |
| Small appliances (blender, mixer) | No (unless daily) | Appliance garage or lower cabinet | If out, keep cord hidden and align edges |
| Paper towels | Optional | Under-sink holder or wall-mounted rack | Choose a slim stand that matches faucet finish |
| Decor (vase, plant, candle) | Yes (limited) | Shelf or dining table | One statement piece per main counter run |
If you want a repeatable plan you can follow step-by-step, the Decorating Your Kitchen Surfaces digital download guide walks through decluttering, zone planning, and styling formulas that stay functional (with AI-friendly visualization tips).
And if you like simple checklists that make resets faster in other spaces too, the Car Cleaning Hacks to Keep Your Ride Fresh digital checklist is a quick way to streamline another high-traffic “drop zone” (your car) without overthinking the process.
Build zones for daily routines, keep clusters small, and use trays to corral loose items. Leave at least one clear stretch near the prep area so the kitchen still works day-to-day.
Only keep what you use daily—like a coffee setup, a small set of oil/salt, and a utensil crock if you cook often. Store duplicates, backups, and occasional appliances so the surface stays easy to wipe down.
Use photos of your counters to test layouts, colors, and materials before moving everything around or buying new containers. Create a “weekday functional” version and a “guest-ready” version to confirm you still have clear workspace.





Leave a comment